When you’re creating a new campaign tool, you use the Send Configuration screen under the Edit tab to set up the sender addresses associated with the emails sent by your campaign.
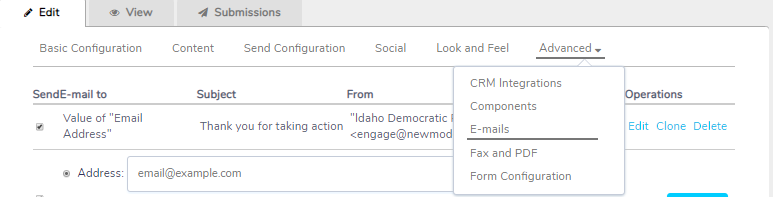
You can also change these standard settings using the Emails link under the Advanced tab for your campaign tool:
You might, for example, want to:
- Delete a tool’s Thank You Email.
- Add a notification email to your campaign team when a new submission is received.
- Send different emails to multiple targets.
To manually customize your send configurations, you’ll need to:
Step 1: Select Edit under Operations:

Step 2: Set E-mail to address. This is the address that this particular email will be sent to:
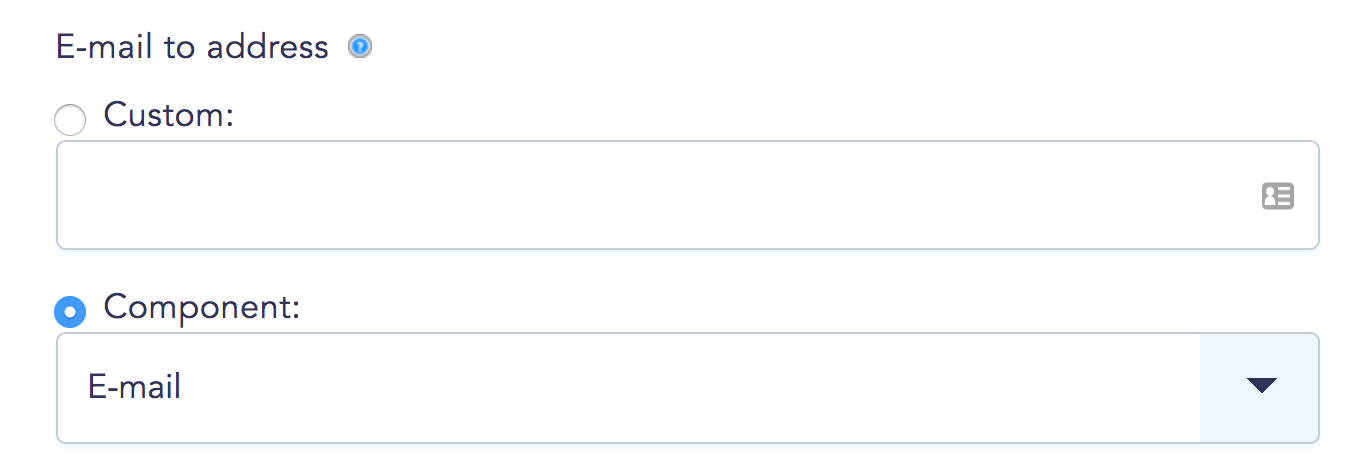
Custom: You might want to use a custom address (or addresses, divided by a comma), if you're setting up a notification of action email you want sent to your team.
Component: If you are customizing the send configuration for an email that will be sent automatically to multiple recipients, you will want to tie it to a component on your form, like the email address entered by your supporters into the Email field.
Step 3: Customize send options:

Enable sending: Unchecking this box will prevent emails from being sent automatically without deleting the email function entirely.
Bypass Queue: Check this box if you want emails sent immediately after an action is submitted. Uncheck to keep emails from sending until the original submission has been moderated.
Even if Bypass Queue is selected, you need to have Auto-Approval unselected on the Basic Configuration screen to prevent emails from automatically sending.
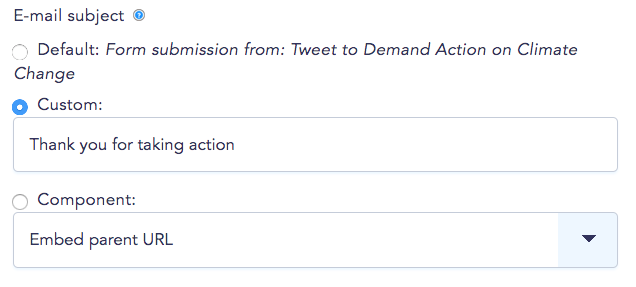
Step 4: Set Email Subject. This is the email subject line. As with the Email to address, you can choose to enter a custom subject line or use an email subject field component on your form:
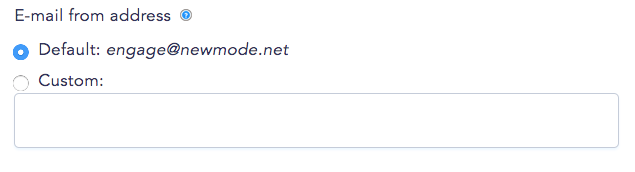
Step 5: Set Email from address. This can either be the default address provided by New/Mode or a custom address attached to your Organization:
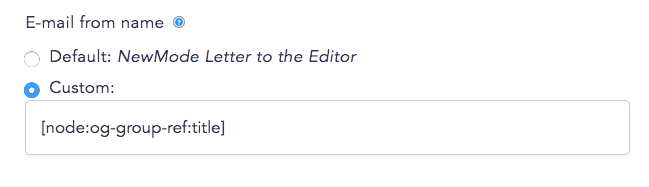
Step 6: Set Email from name. This is the name tied to the email address that appears in the recipient’s email. You can choose to enter a specific name, tie it to a component like the name your supporter enters in your campaign tool form, or use the default address provided by New/Mode:
Step 7: Set up Reply-To Details. This is the information that will appear if a targeted recipient decides to reply to an email sent from your campaign tool:
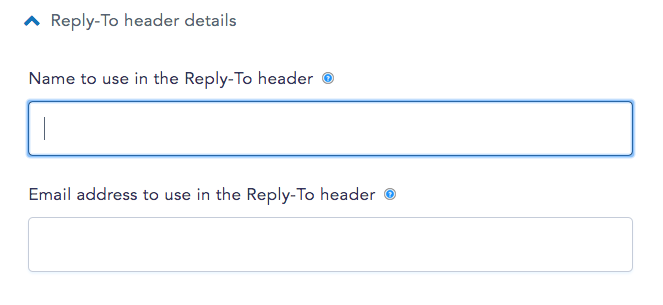
Name to use in the Reply-To header: This can be the name displayed as the From name (for example, the New/Mode default or the name of your organization) or it can be the sender’s email, pulled from their entry in the campaign tool form.
Email address to use in the Reply-To header: This can be the email address displayed as the From address (for example, the New/Mode default or an address associated with your organization) or it can be the sender’s email, pulled from their entry in the campaign tool form.
To browse tokens associated with campaign tool form components, click the cute little blue question mark next to each text field.
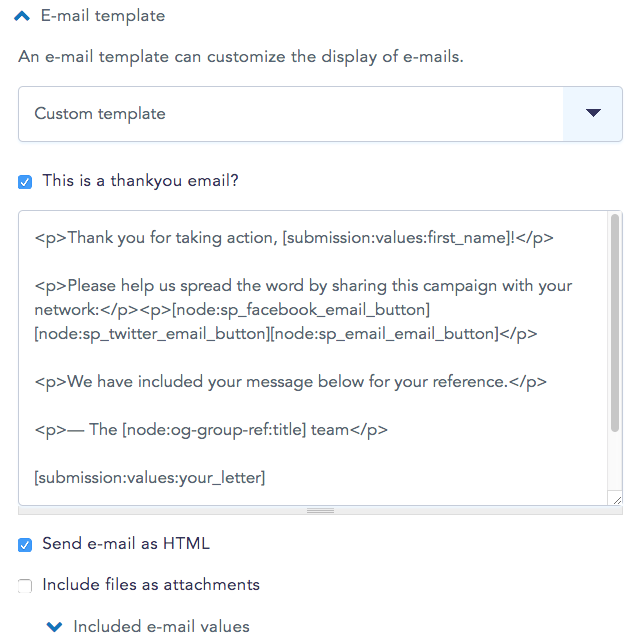
Step 8: Customize Email template. Here you can customize the email template associated with this email. It might be the thank you email message that you’ve already set up for your campaign tool. On the other hand, if it’s a unique message that's not available by default, you can customize the content here:
Step 8: Click the friendly blue Save email settings button at the bottom of the page. This will take you back to your Advanced Emails screen. Mission accomplished!