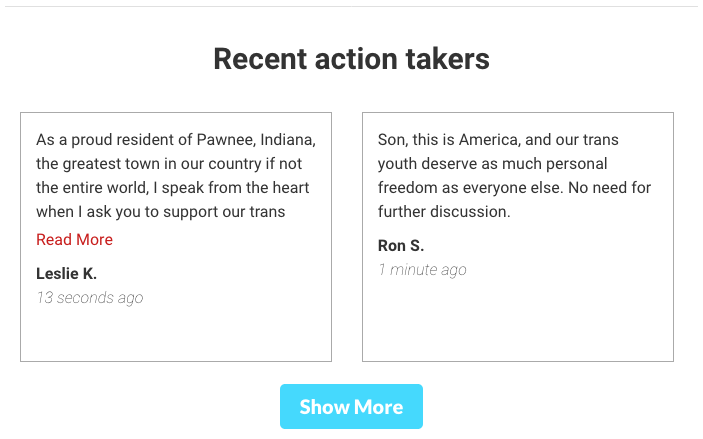
You can easily add an Activity Stream on the Basic Configuration page on all Email, Letter to the Editor, and Fax actions. This will appear below the Submit button and showcase the support your campaign has already received.
Customizing an Activity Stream using CSS:
card height, card background colour and border, 'Show More' button colour
Adding an Activity Stream
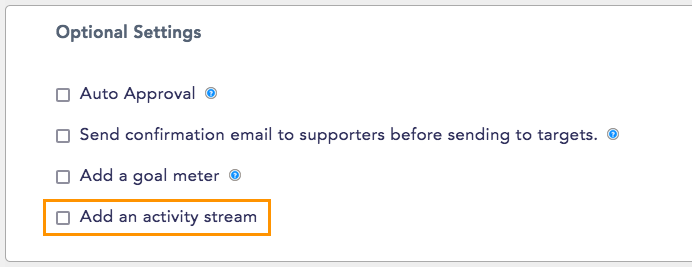
1. On the Basic Configuration page of the Edit tab, scroll down to the 'Optional Settings' section and check the box beside 'Add an activity stream'.
2. Adjust the settings for your action's Activity Stream:
- Title for activity stream: the title you'd like to be displayed above the stream
- How many actions to show: the number of approved submissions to show at one time
- What submission data to show: the supporter data you'd like to appear in each card (supporter's first name, last initial, district, country, comment, and the time since they completed the action).
Note that this list depends on the fields on your action, and that supporter district isn't available if your action uses custom targets. - Refresh rate: how often you'd like the cards to be refreshed, set to 15 seconds by default.
3. Click the 'Save & Next' button to complete the process.
Customizing an Activity Stream using CSS
You can use CSS to change the height of the cards in your activity stream, the colour of the 'Show more' button, or any other aspect of your action's Activity Stream. Below are a few examples of changes you can make.
Changing the height of each card
By default, each card in the Activity Stream is 250 pixels tall to fit all of the supporter data you may want to show, including the letters they send their representatives. If you choose to show less information, you may want to adjust the height of each card to remove blank space.
1. On the Edit tab of your action, open the Look and Feel page.
2. Scroll down to the Tool CSS field and paste the following CSS code there:
#action-ticker-NODE .action-ticker-item {
min-height: 100px;
}
3. Replace "NODE" in the code with the number that appears in the URL of your action after "node/": 4. Click on the 'Save' button to complete the change.
Setting 100 pixels as the height for each card works well in most cases, but you're welcome to tinker and find the height that fits just right for your action.
Changing the background colour or border of each card
You can set a background colour for every card, change the colour of the border around them, or round its corners.
1. On the Edit tab of your action, open the Look and Feel page.
2. Scroll down to the Tool CSS field and paste the following CSS code there:
#action-ticker-NODE .action-ticker-item {
background: #HEXCODE;
border: 1px #HEXCODE solid;
border-radius: 5px;
}
3. Replace "NODE" in the code with the number that appears in the URL of your action after "node/":
4. Replace the first 'HEXCODE' with the hex code for the colour you want to use for the border, and the second 'HEXCODE' with the hex code for the colour of the background.
5. Click on the 'Save' button to complete the change.
The code above defines three aspects of each card. You can choose one or two or use them all, as well as change the numbers to adjust the size of that feature:
- background: defines the background colour of each card.
- border: first sets the width of the border around each card in pixels, then defines its colour, and finally determines its style (in this case, a solid line).
- border-radius: rounds the corners of each card.
Changing the colour of the 'Show More' button
You also get to choose the colour of the background and the border of the 'Show More' button that appears below the cards.
1. On the Edit tab of your action, open the Look and Feel page.
2. Scroll down to the Tool CSS field and paste the following CSS code there:
.ticker-button-wrapper > a {
background: #HEXCODE;
border: #HEXCODE;
}
3. Replace the first 'HEXCODE' with the hex code for the colour you want to see in the background of the button, and the second 'HEXCODE' with the hex code for the colour of the border.
4. Click on the 'Save' button to complete the change.
Last updated: April 12, 2023