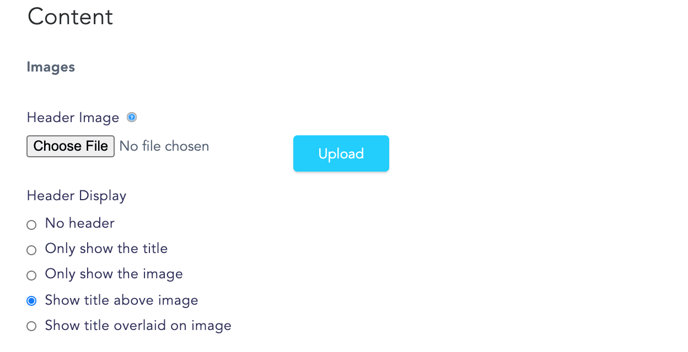
The first thing you’ll be asked to do when adding content to your Emailing Tool is to add a Header Image:

This image will appear at the top of the tool, which means it will be visually front and center on your campaign landing page.
Here’s how to customize your header:
Step 1: Under Header Image, click Choose File. Select an image from your computer. Files must be less than 64 MB and in png, gif, jpg, or jpeg format. Click the Upload button.

Step 2: A thumbnail of the image will appear, and you will be prompted to enter:
- Alternate Text: which will be used by screen readers, search engines, or when the image cannot load.
- Title: which will appear when someone hovers over the image.

Step 3: Under Header Display, select where you would like your image to display in relation to the Title you entered under Basic Configuration. You can also choose to use only the Title, only the Image, or No Header at all:

Step 4: You can now choose to scroll to the bottom of the Content screen and click Save & Continue to view your Header Image in Preview, or you can move on and Add a Call to Action before saving.
In Preview, your Header Image should look a little something like this:

Once you've got your header looking pretty (or pretty minimal!), you can move on to adding a Call to Action!
