When you’re working on a New/Mode campaign, you’ll have three main tabs you use to setup and manage individual campaign tools: Edit, View, and Submissions. This article will walk you through the main features of the View tab.

There are three screens that you can navigate to under the View tab:
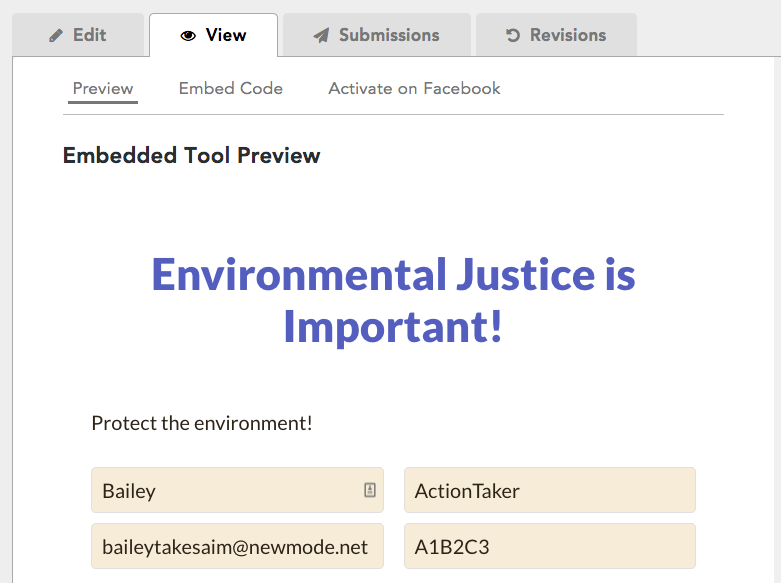
Tool Preview
To see what a tool will look like once it's live, and to test its functionality, you can always visit Tool Preview. You'll be directed here automatically when you create a new tool, or finish adding content and styling to a tool:
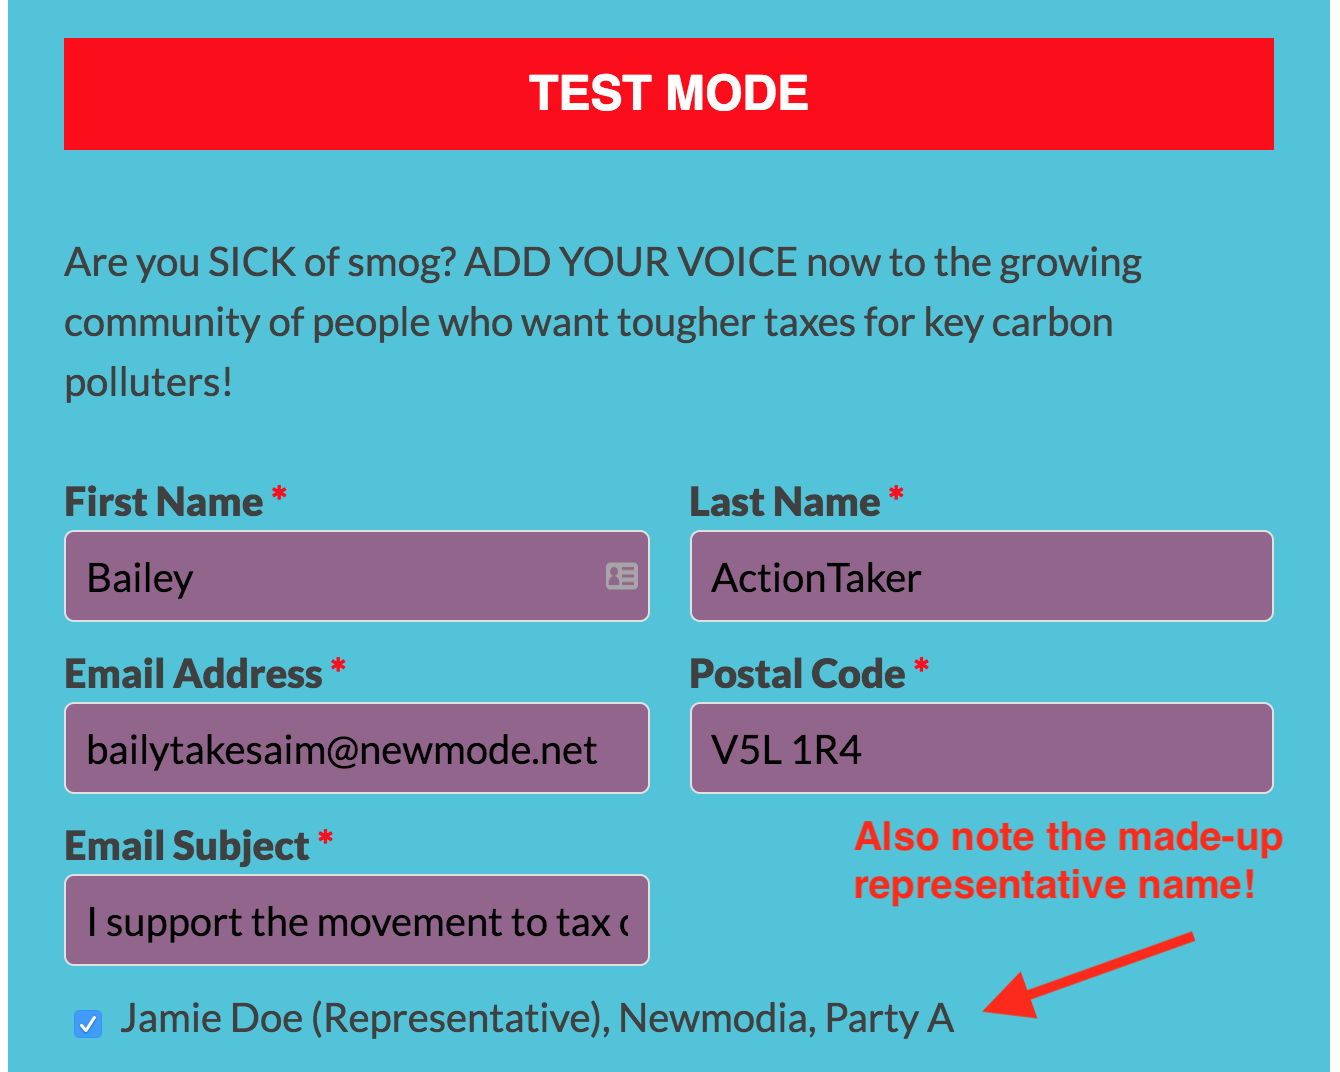
You can test how a tool is working here by sending a test action, like a Tweet or an email. Just fill your own information into the data fields, and if you’ve got everything set up correctly, you’ll be taken to your Thank You Page, and you’ll receive a Thank You Email.
When you are in Test Mode, you'll see a large, informative Test Mode banner under your campaign tool header. As the ancient philosophers put it, if you don't know, then now you know:
Embed Code
This screen contains the Embed Code for your campaign tool, the Thank You Page Path, and your Social Buttons Embed Code.

- Just copy and paste, or click Copy to Keyboard and paste the Embed Code on your website.
- Use the Thank You Page Path for your Google Analytics goals!
- You can also use the tag in the Insert Tag code if your CRM or CMS supports native New/Mode embedding.
- If you are using a custom (non-New/Mode) thank you page, then you can use the Social Buttons Embed Code to add your Social buttons to that page that you supporters will be redirected to.
Activate on Facebook
The Activate on Facebook tab is the hub for your Facebook integration with New/Mode. Learn more about integrating your tools with Facebook!
Learn more about embedding New/Mode campaign tool code on websites and CRMs.