Using a New/Mode action page enables you to seamlessly integrate your actions with a customizable page that is optimized for conversions!
Our action pages are linked directly to the actions you create, so to create an action page, you first need to follow the steps to create an advocacy action. Once you have set up your action, you're ready to create an action page for it.
Creating an action page
- To create an action page for all the actions in a campaign, open the campaign on your dashboard and click on the Create an Action Page button on the right.
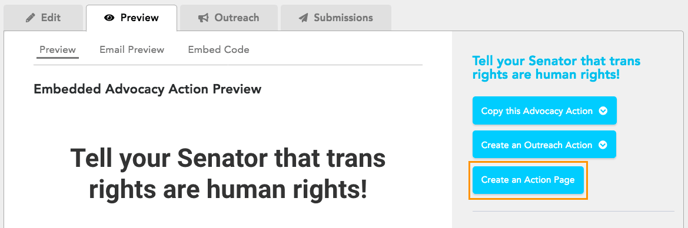
- To create an action page for a specific action within a campaign, navigate to your action's Preview tab and click the Create an Action Page button on the right.
Customising your action page
Basic settings
On the Create Action Page page you can choose the basic settings of your Action Page, like its title, the action that will be embedded within it, its template and text:
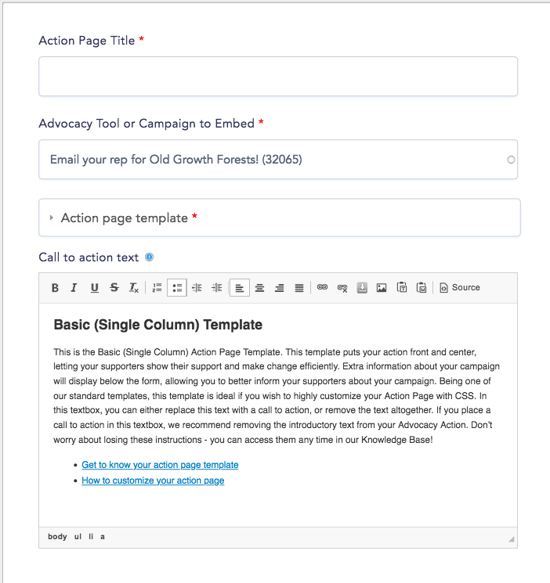
- Action Page Title - the title for the Action Page itself; depending on the Page Format of your Action Page, you may want to edit your action's Header Display to hide the Action Title.
- Action page template - you can choose between five options: Basic single column; Basic (Two column); Full-width Header (Two column); Sticky Action (Two column); or Floating Action (Two column).
- Call to action text - this will often replace the Introductory Text and Key Points in your action, to keep the action itself short, but with all the content still visible!
Images
After setting up the basic settings, scroll down to the customizing section. In the Images tab, you have all the options for adding images to your page. All image settings are optional:
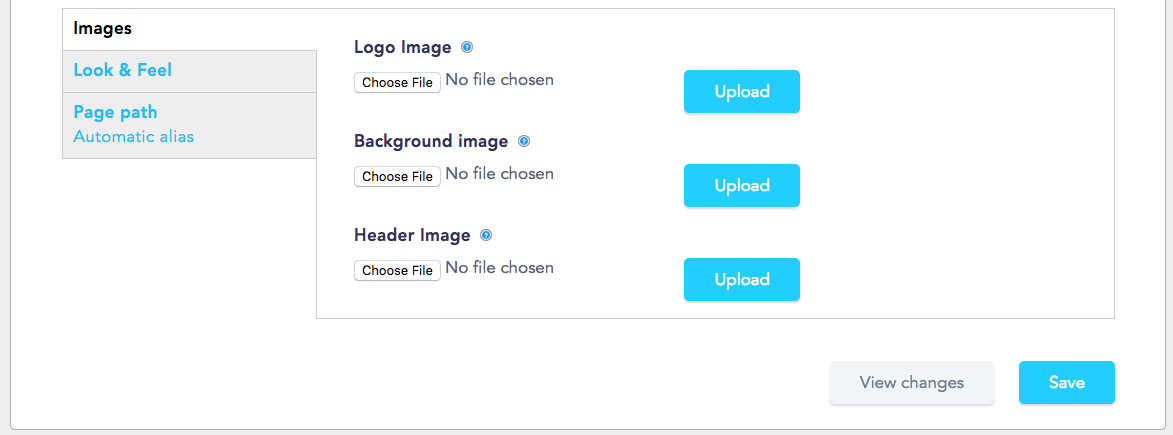
- Logo - your organization's logo can be added to your Action Page, and will appear at the top left of the page
- Background Image - you can choose image to be the background of your Action Page; you may want to play around with the images that you use and the Look and Feel of both the Action Page itself and the Action you are creating the page from, as colors and font may need to change to fit the background image.
- Header Image - this image will appear above the Action Page Title.
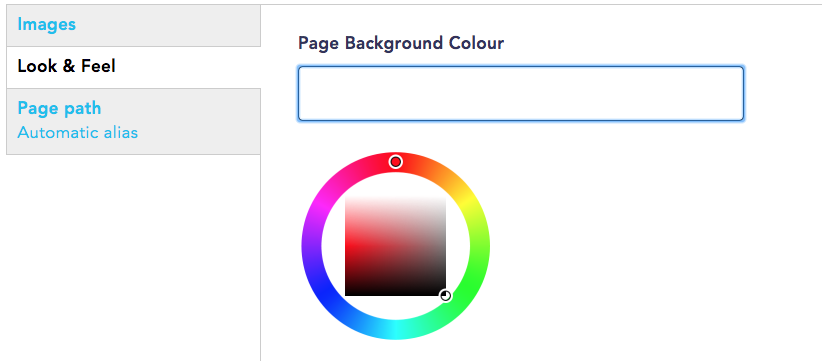
Look and Feel
This tab works the same as the action Look and Feel tab.
- Use the color selectors to choose the color for each visual aspect of your page - Page Background Colour, Title Text Colour, and Text Colour.
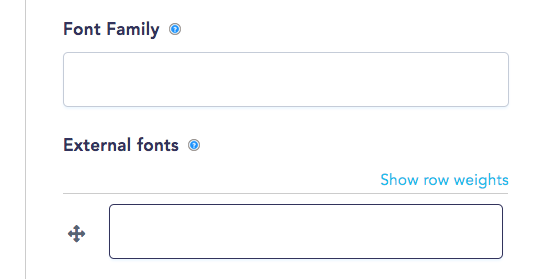
- Type the name of the Font Family you want to be applied to the page, or enter an External Fonts URL.
- Customize your page with Custom CSS. CSS settings will be overridden by anything set up in the color selectors and Font Family.
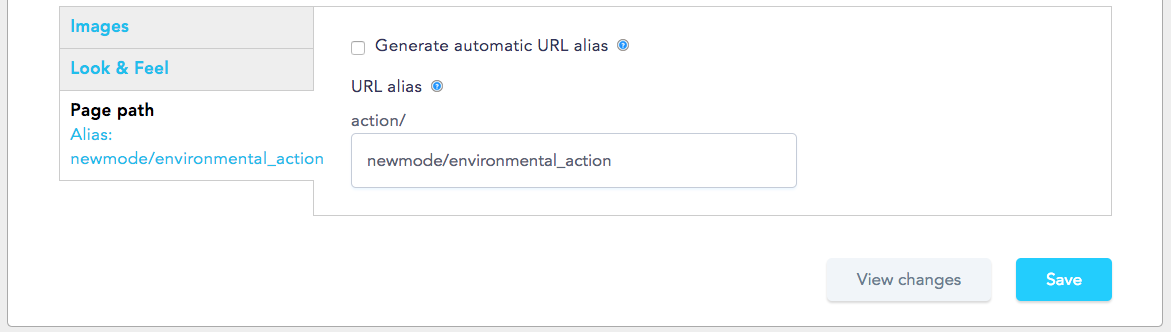
Page path
Ticking the Generate automatic URL alias checkbox will create a URL alias from your action title automatically. Unticking it gives you the option to write your own custom URL alias.
Completing the process
Save your changes, and you will see a green message at the top of the screen with the URL to preview your newly created New/Mode Action Page!
Once you see what your Action Page looks like, you may want to go back and edit the Look and Feel or the Content of the Action the page was created from, or make changes in the Action Page itself.
All changes to the Action and to the Action Page will be reflected in the page view.
Last updated: March 7, 2024