This is a quick guide to syncing your New/Mode actions to ActionKit, from creating an integration in your organization to customizing field mapping on individual actions.
Adding an ActionKit integration to your Organization
Connecting your ActionKit integration with an Action
Syncing the fields in your Action to ActionKit
Once you've configured your ActionKit integration, click here learn more about managing CRM Syncing in Submissions.
Adding an ActionKit integration to your Organization
1. Follow the steps to Create an Integration.
2. Once you select ActionKit as your CRM, you'll be asked to enter your ActionKit Host URL, user name, and password. Make sure that the Host URL ends in a forward slash or it won’t work!
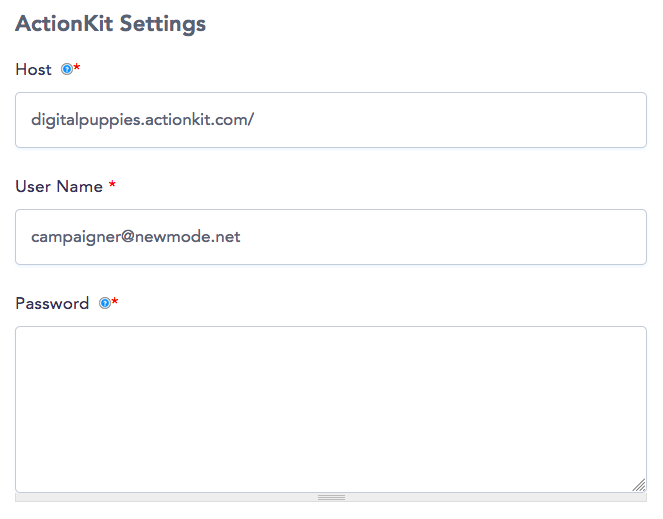
3. Click Save at the bottom of the page.
You will be taken to your new Integration Setup page, where you'll be able to View or Edit it later:
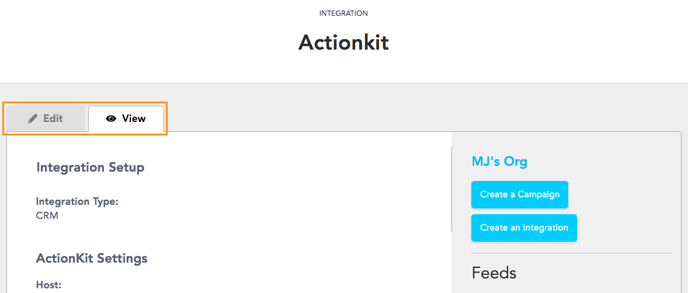
You can always get back to this page to Edit or View your Integration Setup by clicking the link that is now visible under Integrations on the right-hand side of your Dashboard:
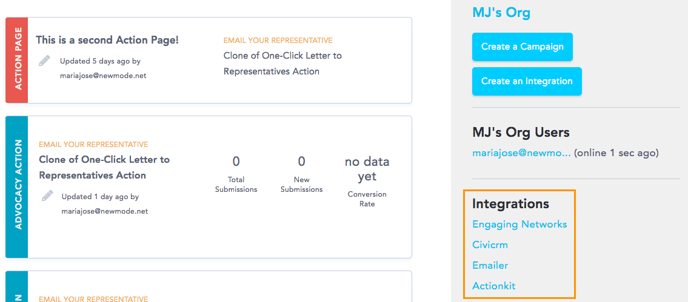
Connecting your ActionKit integration with an Action
1. In ActionKit, create a Page and copy that page's auto-generated short name. (You can learn more about ActionKit Page short names here).
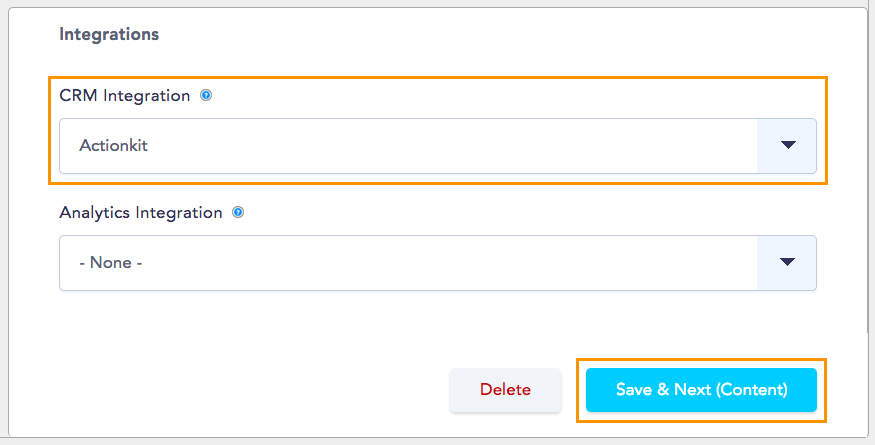
2. In your New/Mode action, open the Edit tab, and scroll down to the Integrations section of the Basic Configuration page. Select your ActionKit integration from the 'CRM Integration' menu and click on 'Save & Next' to complete the process.
3. Open Advanced > CRM Integrations, and once there click the 'Edit ActionKit API' link on the top left-hand side of the page:
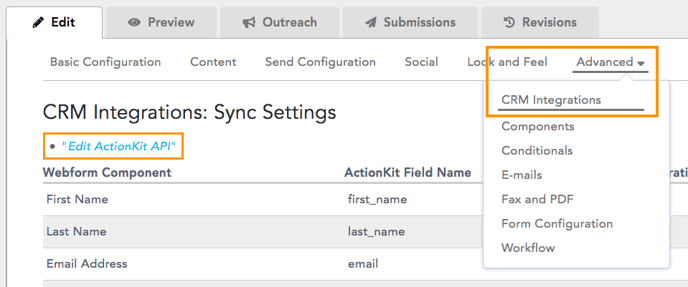
The next step is critical to ensure that your New/Mode form fields match your ActionKit form fields so that you can pass supporter data to ActionKit.
4. You will be taken to a page that asks you to Add New ActionKit API Target. Paste the ActionKit Page short name from step 1:
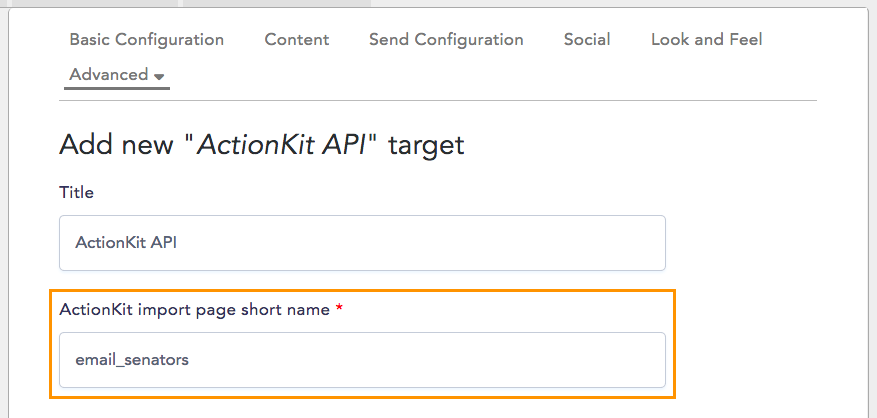
5. Click Save at the end of the page and you'll return to your CRM Integrations page.
Syncing the fields in your Action to ActionKit
1. Start by opening Advanced > CRM Integrations to arrive at the Sync Settings page:
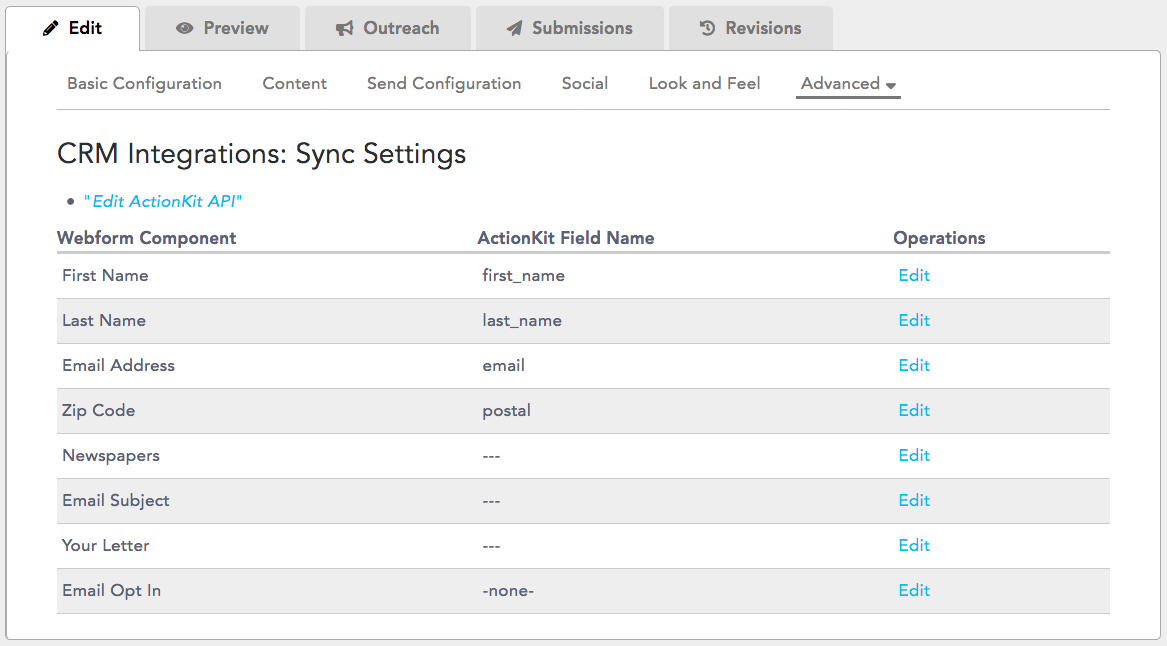
The Sync Settings page has three columns:
If any of your action fields listed on the left-side column are not pointing to the field you want on the ActionKit field column, follow these steps:
2. Click on Edit.
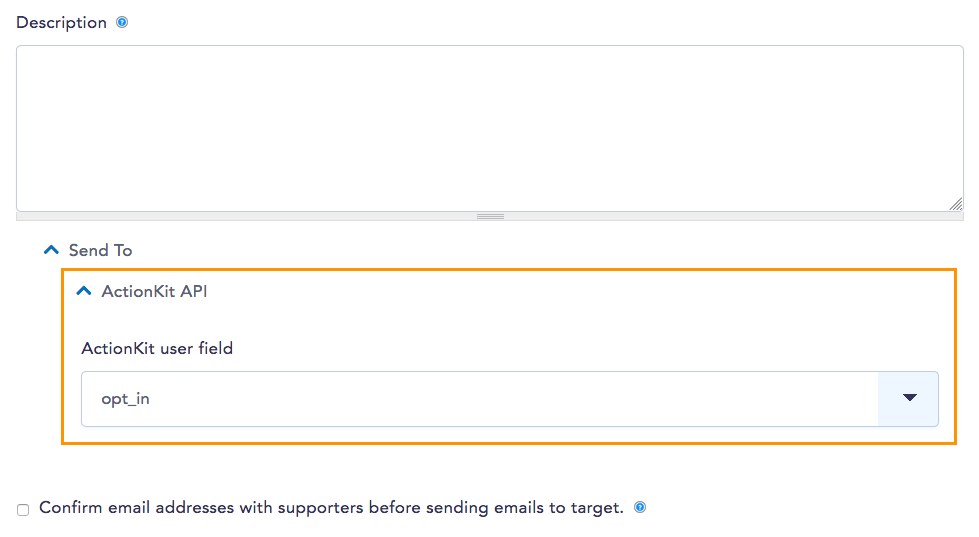
3. Find the ActionKit API section and, under 'ActionKit user field', select the right user field from the drop-down menu.
4. Scroll down to the end of the page and click on the Save button to complete the process.
Last updated: March 3, 2022
