Customize your actions by choosing colors and fonts, or using custom CSS.
This article covers:
Every campaign action that you create can be styled using the Look and Feel screen under the action's Edit tab:
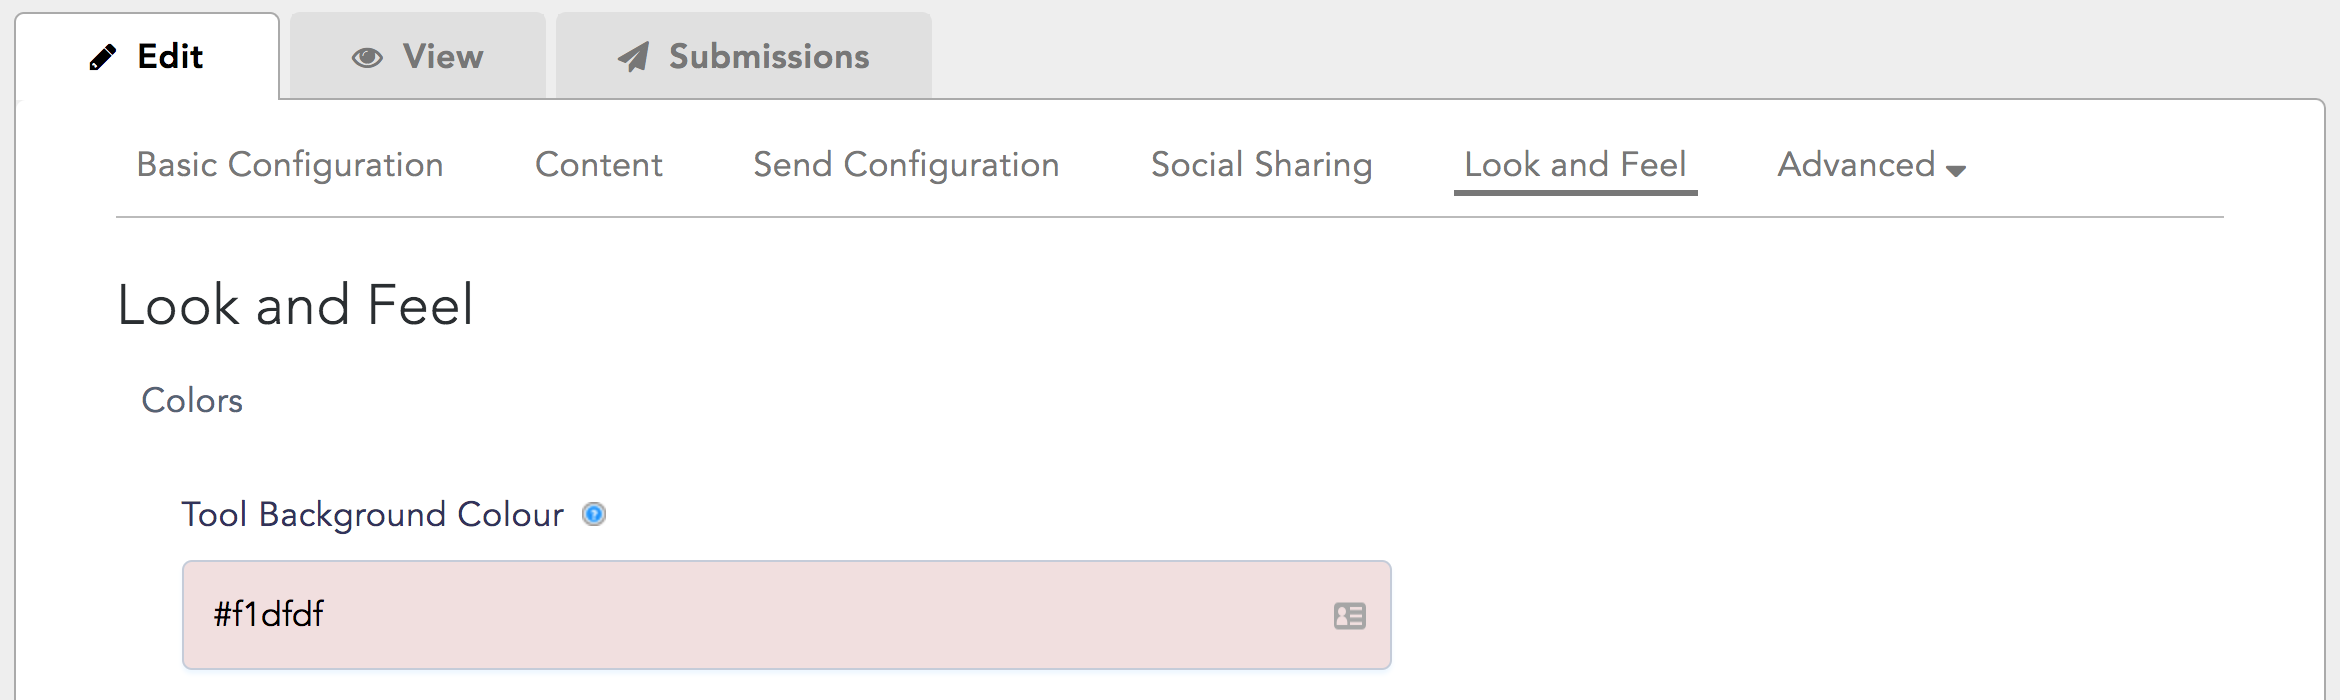
Any styling you do here will override the global CSS settings you configure on your organization's Templates page. This means, for example, that the styling of a Letters to the Editors Action can be different from the styling of a Tweet Action, and that two different Emailing Actions can have completely different looks.
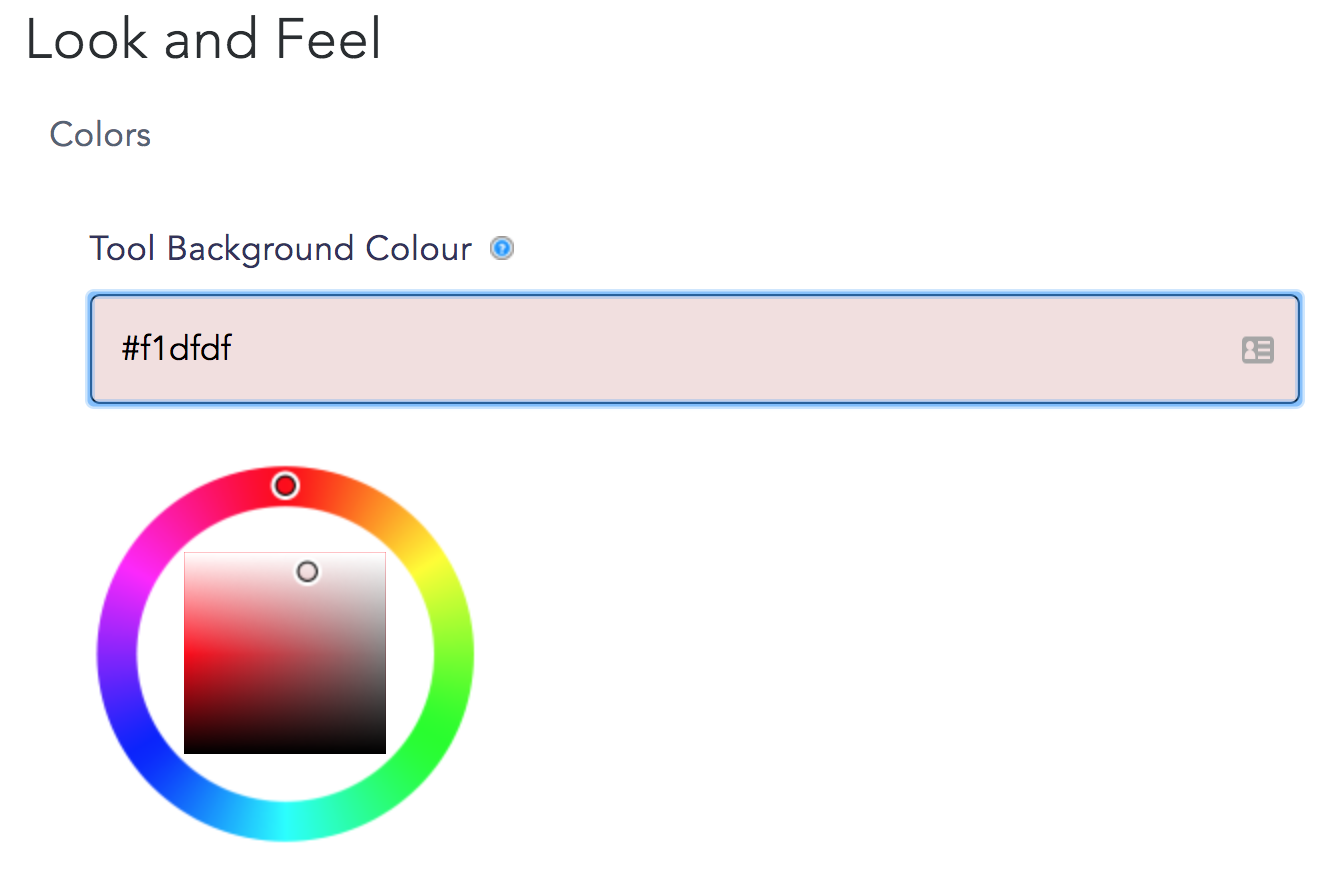
Colors
When you click on the color setting for each visual aspect of your tool, you’ll see a color picker to pull from, or you can enter the hex color codes associated with your campaign branding:
Fonts
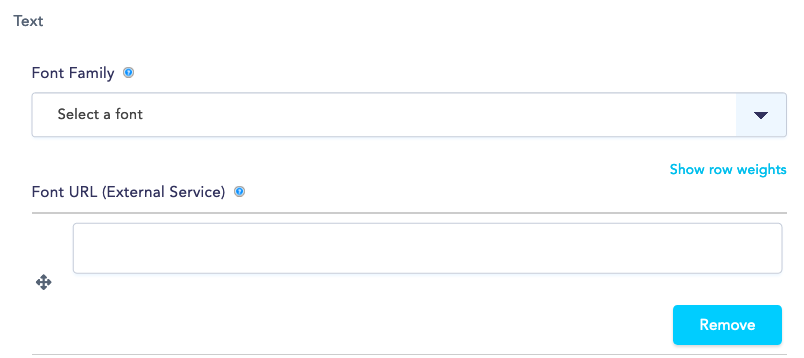
1. Select a Font Family or import a custom Font.
- Font Family: select a Font Family from the dropdown list, or
- Font URL (External Service): if you have a font associated with your campaign branding, enter the URL.
If you're using a Google Font, enter the font URL in the format in bold below instead of directly copying the URL you see on Google Fonts:
✅ https://fonts.googleapis.com/css?family=Roboto
⛔️ https://fonts.google.com/specimen/Roboto
2. Copy and paste the code below into the Tool CSS field to ensure that the font you want is applied to all parts of your action:
body, p, li, em, i, h1, b, h2, h3, h4, h5, h6, strong, body.page-nm-letter, div.l-main, div.node--letter--embed, .form-item .item-label label, .form-item-submitted-newspapers-checkboxes, a.nm-branding-link, .webform-component-addressfield .form-item[class*="autocompletion-block"] + div[class*="toogle"] a, .webform-component a, .form-item input, .form-item .item-label label.compact-form-label, textarea, .field-name-title .field-items h2, input.webform-submit, input.webform-next, .webform-tweet-container a.webform-tweet-button, .webform-client-form .form-actions input.webform-previous {
font-family: '_______', sans-serif !important;
}
3. In the code you just pasted into the Tool CSS field, replace the blank line with the font you chose in step 1 (either the Font Family you picked from the list or the name of the font as it appears on Google Fonts).
4. Click the 'Save' button to complete the setup.
Style Sheets
The Tool CSS field is where you can add any CSS to customize your action, just make sure you don't include any HTML or the code will be invalid. (This is the code validator we use in the backend).
The styling choices you make here will only apply to individual actions. You can customize the Global CSS of your action templates under your organization's Templates tab.
Last updated: February 28, 2023